I have 30 floor stands that I use in training. I store them and then move them into my truck for transportation to each training site. At the site, the stands are taken into the facility and moved around as needed throughout the training days. At the end of the course, the stands are put in my truck, I take them home, and put them up for storage. That is quite a bit of handling and each time, a few stands lose a bit of sand. Some of the stands, these ten years after I first obtained them, are only two or so pounds when they started out with about six pounds of sand in them.
During the summer of 2024, I decided it was time for me to spend two days in the Florida heat and humidity learning how to mix up plaster of Paris and pouring it into the stands so that they wouldn’t be messy anymore.
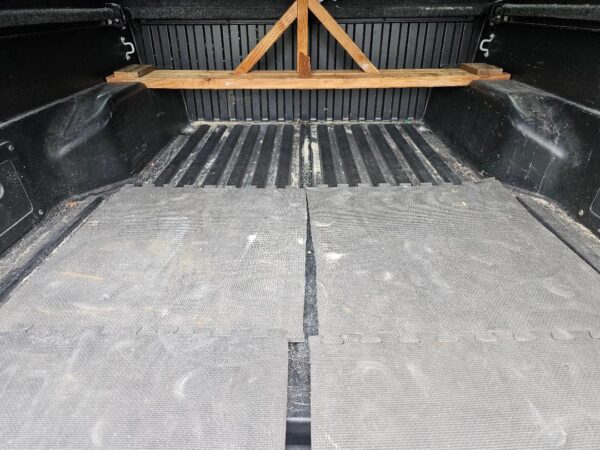
Below is the inside of my truck bed. That is all sand from the stands.
What You Will Need
Let’s say you have four stands.
- You will need two cartons of plaster of Paris,
- A cup (I used a small flower pot) to scoop the plaster and sand,
- Water (I didn’t measure my water, I worked at the mud sink in our garage),
- A small container to mix a portion of the plaster, sand, and water,
- A drop cloth to protect your surface,
- Old clothes that you don’t mind getting messy
My estimate is that one carton of plaster can fill three stands. Since I have 30 stands, I went through two cartons (my initial experiment) and then one- and three-quarter bags.
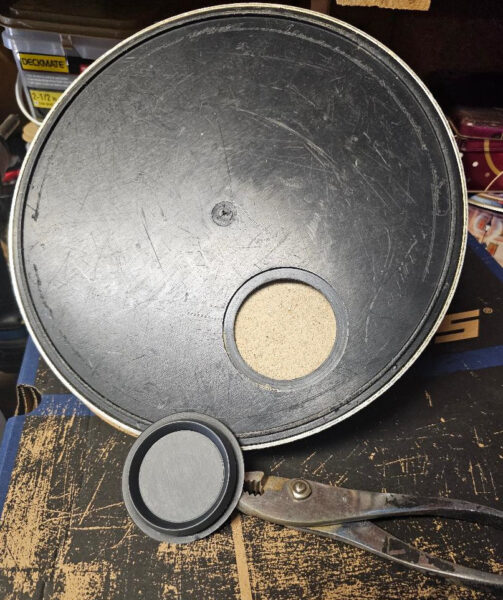
Step 1 – Remove the cap
I used needle nose pliers to minimize damage to the caps. I tried using standard pliers with a wide nose, but the wide grip on the cap tended to rip a little bit of it.
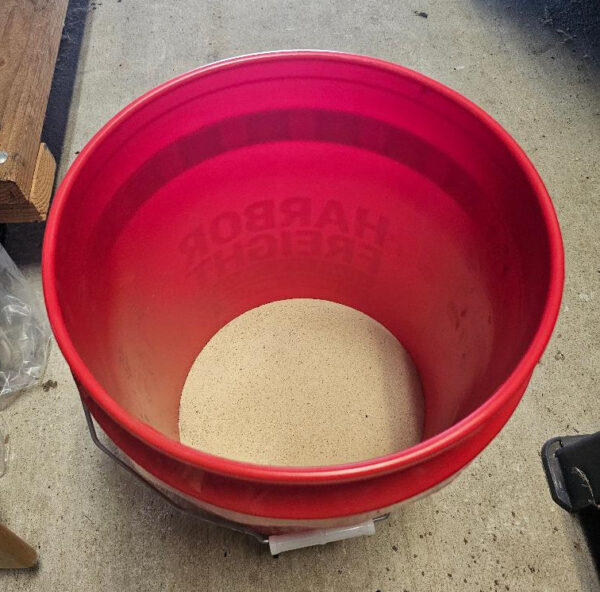
Step 2 – Dump the Sand
I thought of leaving some sand in each stand, mixing the plaster and then possibly pouring the plaster into the stand and shaking it if necessary, but thought better of it and I’m glad I did.
Step 3 – Mix the Plaster
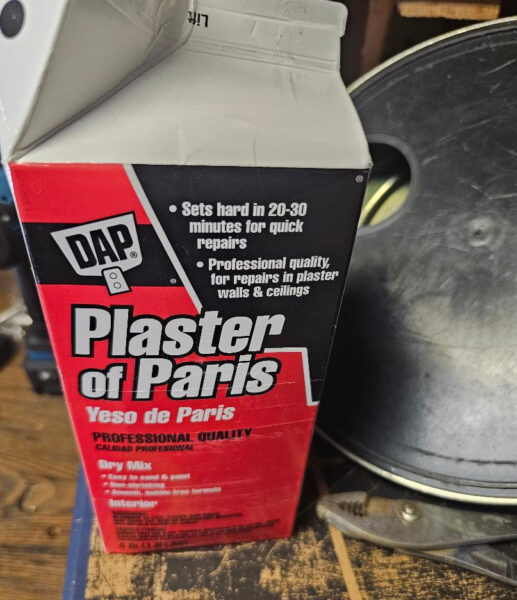
I initially bought two cartons like that pictured directly above. I didn’t understand the ratio between the plaster, water (it’s 1:1) and the sand. I wanted to experiment and see what worked. I quickly found out that two cartons would be finished in a matter of minutes.
My first idea, my experiment, was to mix a carton of plaster, water, and sand in a large bucket and then pour it in the stands. Don’t do this, it doesn’t work. You end up with a nicely dried chunk of plaster at the bottom of the bucket while you are trying to get the quickly drying mixture poured into your first stand. Below is the result.

I ended up breaking all this up and reusing it in the rest of the stands. I didn’t even get one stand filled, it was an incredible failure as I held the bucket, the sand drying out the mixture that was pouring like molasses in the middle of winter and steadying the stand with my other hand when I wasn’t encouraging the mixture to pour better by trying to scoop it forward.
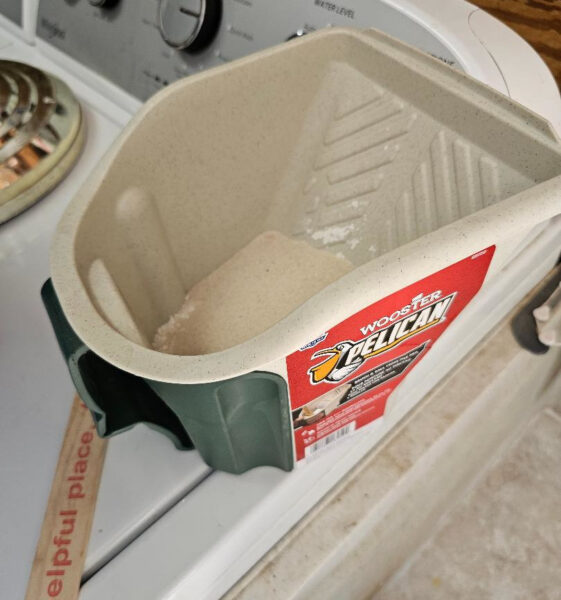
What actually worked: about two cups of plaster, three cups of water, and three cups of sand in a small container. I used a small painter’s handheld bucket. I averaged three to four of these containers per stand.
At first, I had a fairly thick mixture and used a paint stirring stick to push it into each stand. If the mixture was more on the dry side, it would stay as a big lump just below the opening in the stand and then I could not get any more mixture in without shaking the stand to get the lump away from the opening. It was very tedious.
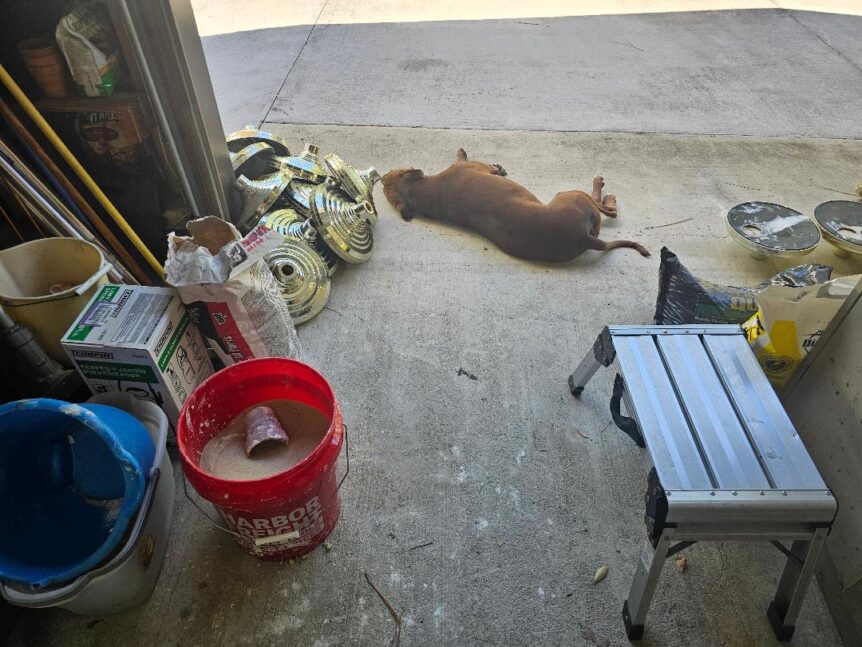
I then began adding too much water which was very easy to pour but took up more space that could have been used for sand. I eventually found a balance and I found it much easier to have a bit of excess water so that the mixture would be easier to pour. The stirring stick worked very well. Max, our pit that we rescued, did not let anything happen to me as I worked (photo at the top of the article.
I propped up the upside-down stand on the top of a bucket so that both of my hands were free. One held the paint bucket filled with the mixture and the other had the stirring stick to move the mixture into the stand.

Step 4 – Wash off the Stands
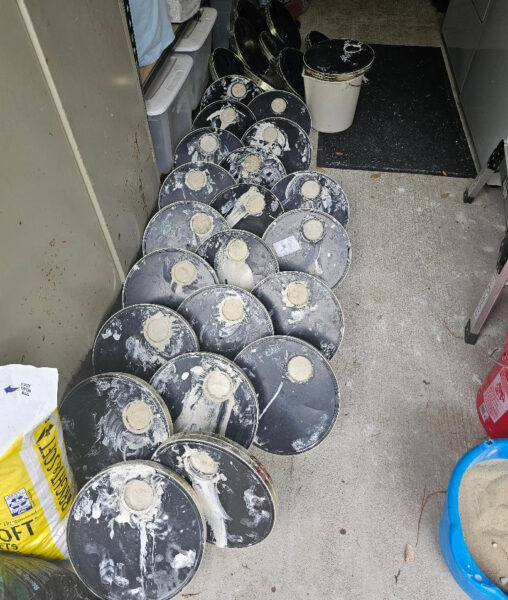
As you can see in the photos directly above, the stands got really messy, At left was when I started and then finally finished. I filled about three to four stands an hour.
Step 5 – Allow the mixture to Cure
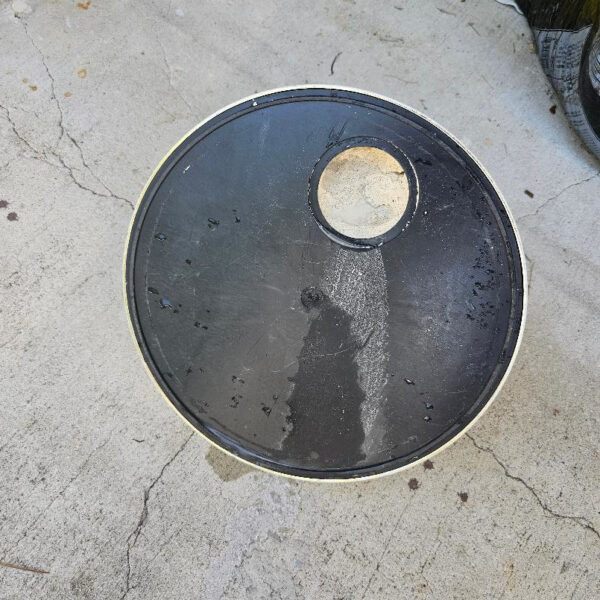
Just to see what would happen, I put caps back on two of the stands overnight. In the morning, I checked, and they both had condensation. Store the stands upside-down without the caps. Because I had some drier mixture and some were very wet, I left the stands in storage upside-down and uncovered for three weeks.

Step 6 – Replace Caps
Ultimately, I’m going to glue the caps on, but for now, I want to see how the hardened mixture in the stands holds up to all the handling. Since I stored them upside-down while the plaster cured, I want to see if any will drop now that they will be placed right side up.
Thanks
I have DeVaughn Simper to thank for this tortuous feat! It was his suggestion to use plaster of Paris and I am very thankful for his wisdom and experience here.

